The Lip Process
This page walks you through what happens during a lip blushing appointment — from how to prepare to what to expect at your touch-up and after healing.
The first session takes about 3.5 hours, and the touch-up appointment lasts around 2 hours.
The first session is $500, and the touch-up (6–10 weeks later) is $150. A $100 non-refundable booking fee is required and goes toward your total. Results typically last 1–3 years after the touch-up, depending on skin and after-care.
Before your session, please review the pre-care guidelines in the Pre/Post Care section and read through the Policies page.
Following the pre-care instructions helps your skin stay calm and prepared for the service.
1
Before the Appointment
If you’d like to talk more before booking, an online consultation is available to answer questions and go over your goals.
We also offer in-person consultations for those who prefer to visit the studio before scheduling.
During either option, we’ll go over your desired tone, expectations, and what to expect from the healing process.
2
Consultation Options
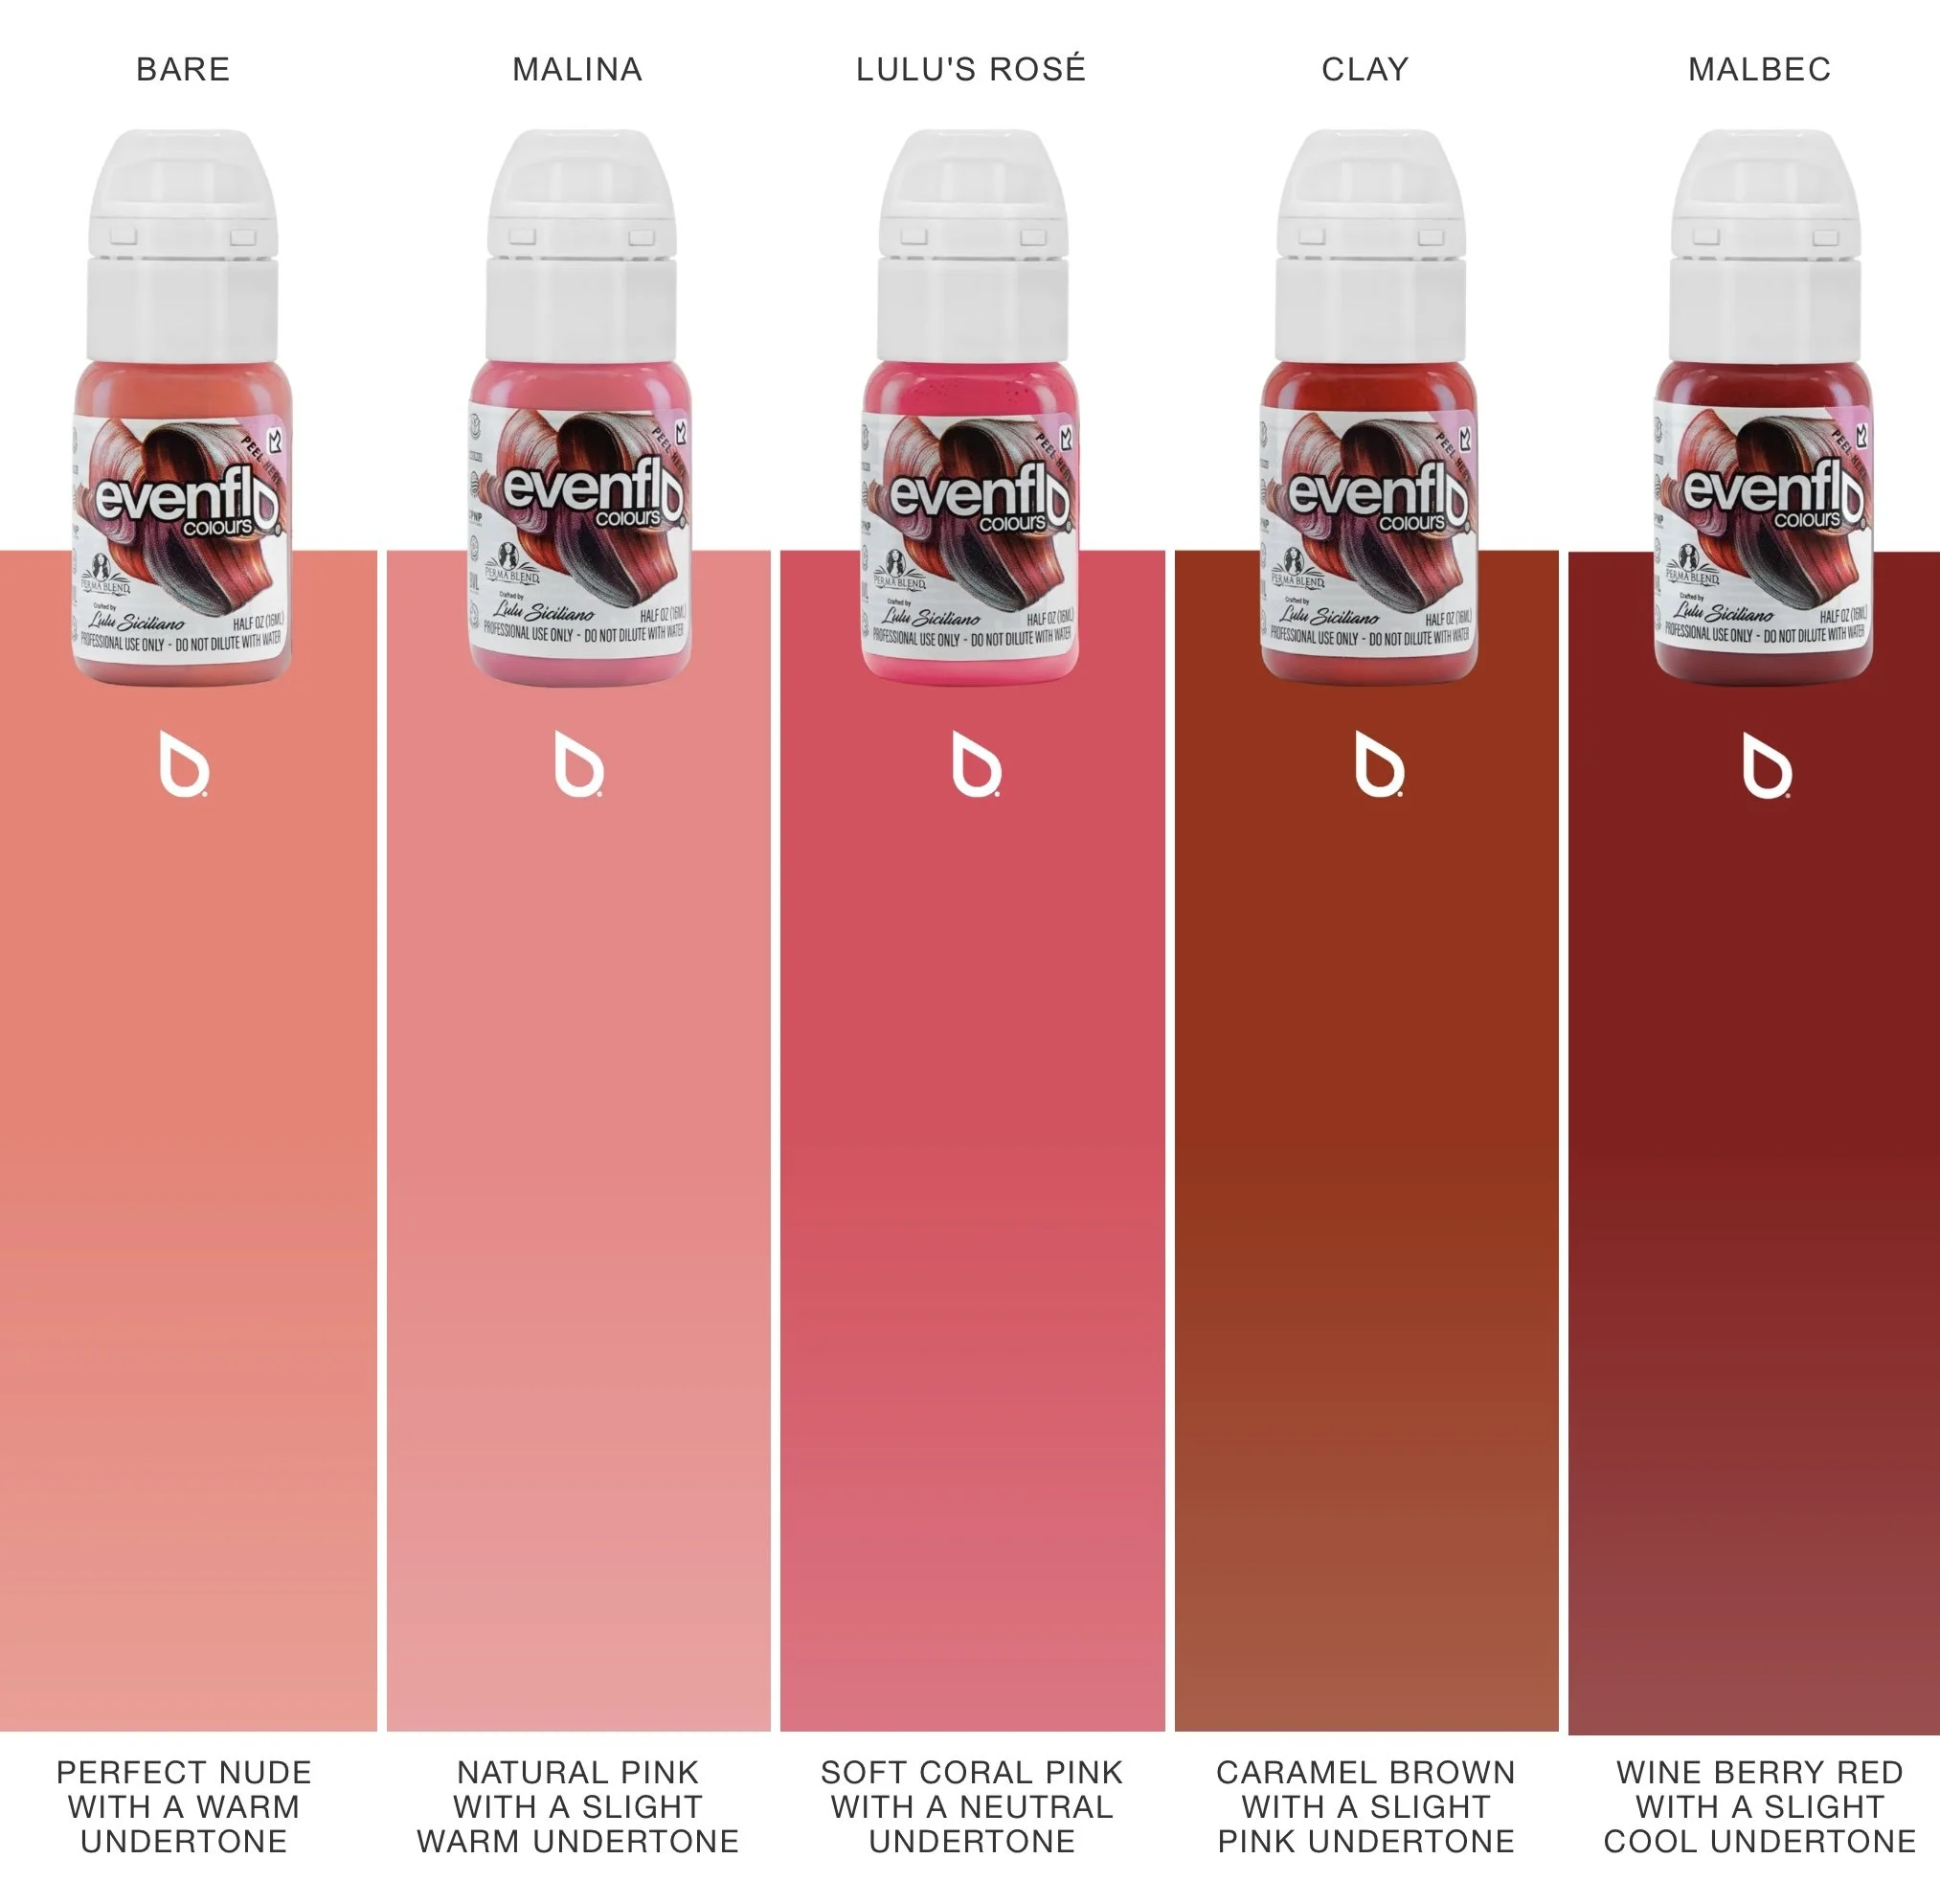
At the start of your appointment, we’ll review your goals and talk about color options — a photo of the colors is attached here for reference.
We’ll go over which tones best match your undertones and overall look.
Each color can also be custom mixed to create a shade that’s completely unique to you.
Lip Blushing can be done with different approaches: a Natural Finish for a sheer tint, or a Lipstick Look for a bolder result.
During the touch-up, we can always add more saturation or warmth if you decide you want a stronger color.
3
At the Appointment: Goals & Expectations
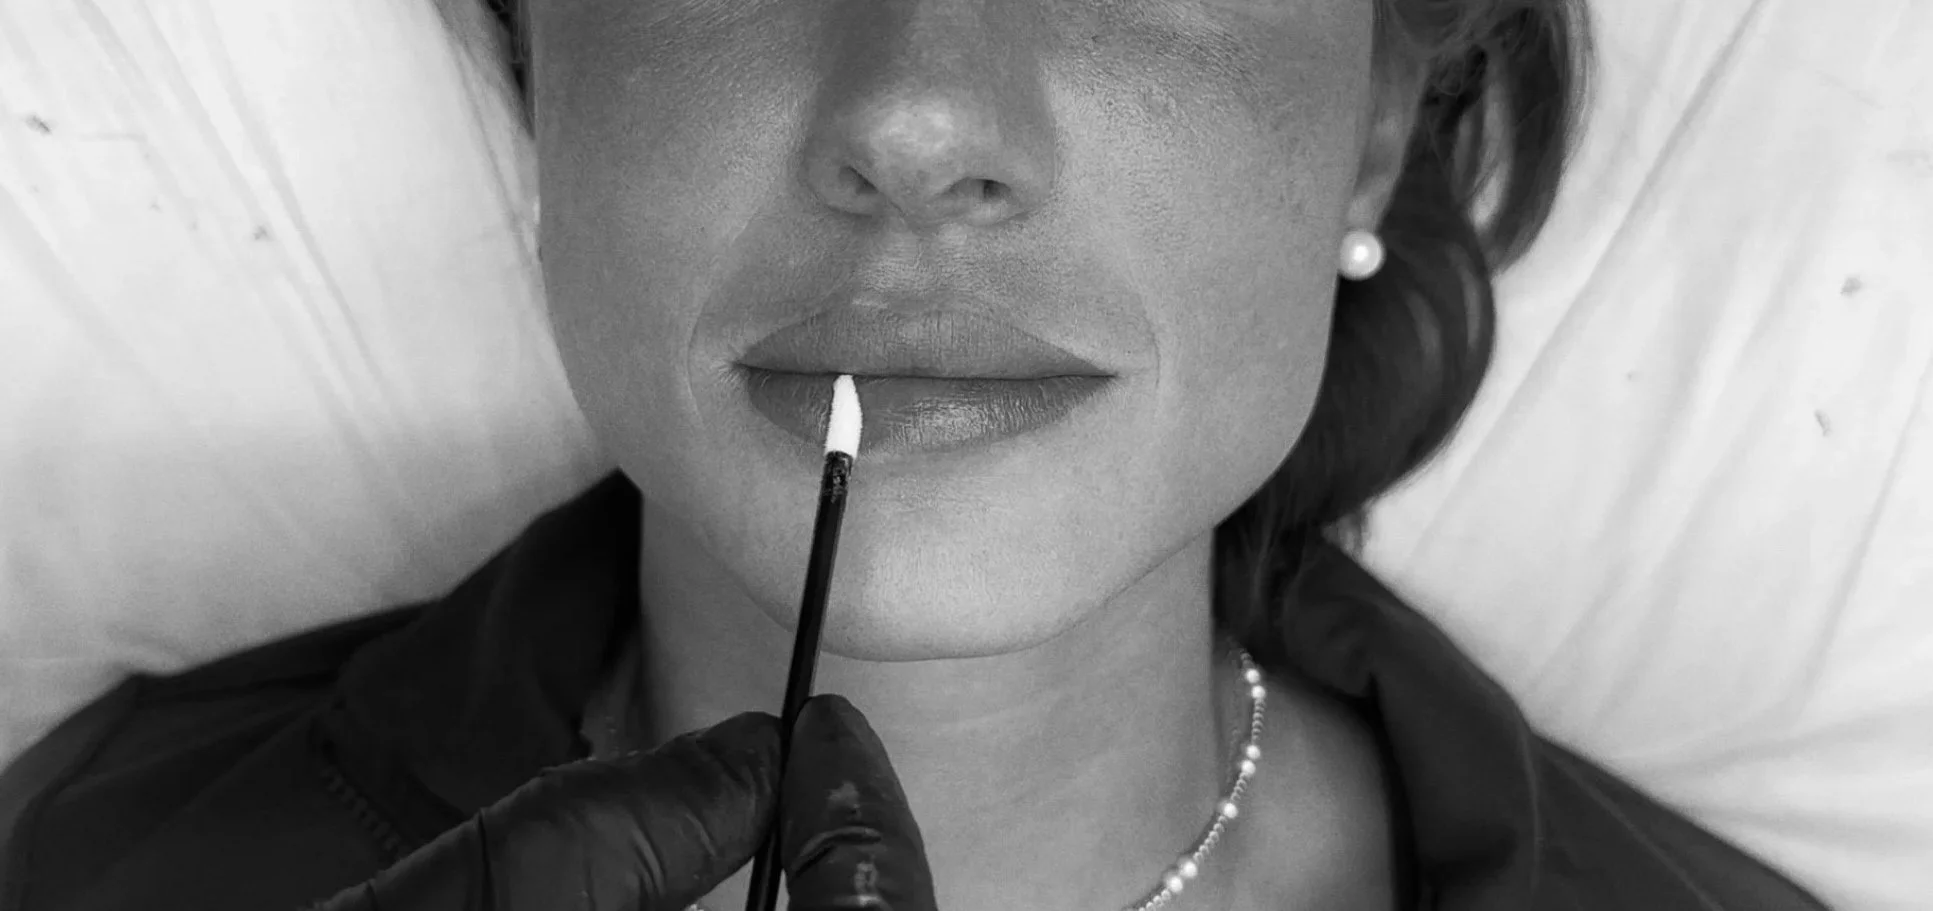
Once we select your color, I’ll begin mapping the lips.
I use a red lipstick to trace over your lips — this shows you exactly where I’ll be tattooing and helps visualize the shape.
We always stay within your natural lip border; lip blushing can’t go beyond the skin, but it can restore balance and enhance shape by adding pigment where it’s lighter or uneven.
Once you approve the design, we use a white paste around the outline to lock in the shape before starting.
4
Mapping & Shape Design
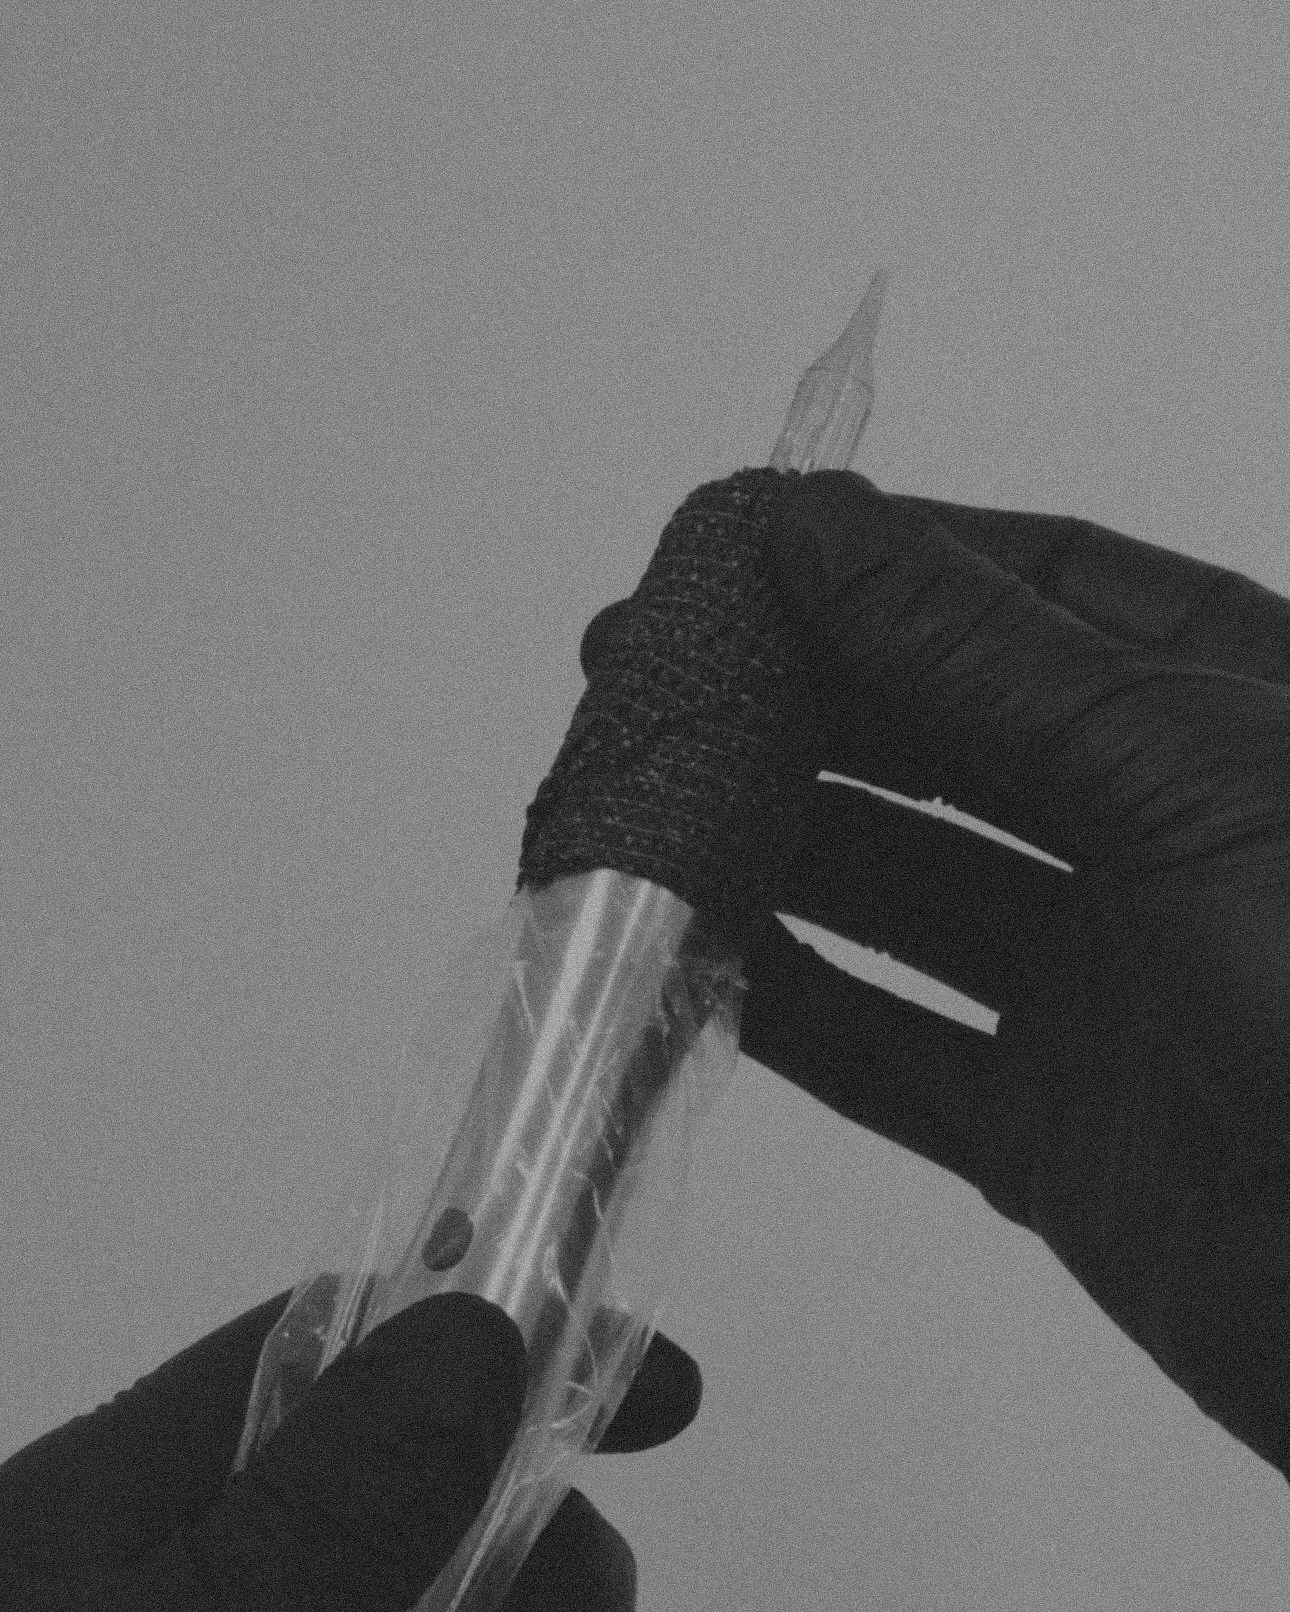
Once the shape is locked in, the outlining begins. We carefully trace the borders of the lips following the shape we approved. This step defines the edges and ensures balance and symmetry.
After completing one side, we apply a numbing cream for comfort and move to the other lip.
5
Outline Work
After both sides are outlined and numbed, we begin shading to build color evenly across the lips. The goal is to achieve a smooth, even blend from edge to center with the selected pigment.
The initial color always looks bold right after the session, but it softens by about 30–60% once healed.
6
Shading & Building Color
Once the session is done, lips may feel slightly tender and appear more saturated right after, which is completely normal.
Some people swell more than others, but swelling typically goes down within 1–2 days. The color will gradually lighten as the lips heal over the next several days.
7
Right After the Procedure
Before leaving, we’ll review the aftercare instructions and provide your aftercare kit with everything you need.
Mild dryness or peeling is normal within the first few days — don’t pick or peel the skin.
Everyone heals differently: some retain more pigment, while others heal lighter.
At your touch-up, we’ll make any needed adjustments to even out tone or deepen the color.
You can find full details in the Pre/Post Care Section of our website.
8
Aftercare & Healing
Your touch-up takes place 6–10 weeks after your first session.
At that appointment, we can go darker, warmer, or more saturated depending on how your lips healed and what look you want to achieve.
After the touch-up, results typically last 2–5 years, depending on your skin, lifestyle, and aftercare.
9
Touch-Up & Final Results